Construction Video Gear: The Kit I Bring on Every Shoot
- Chris Fredette
- May 7
- 7 min read
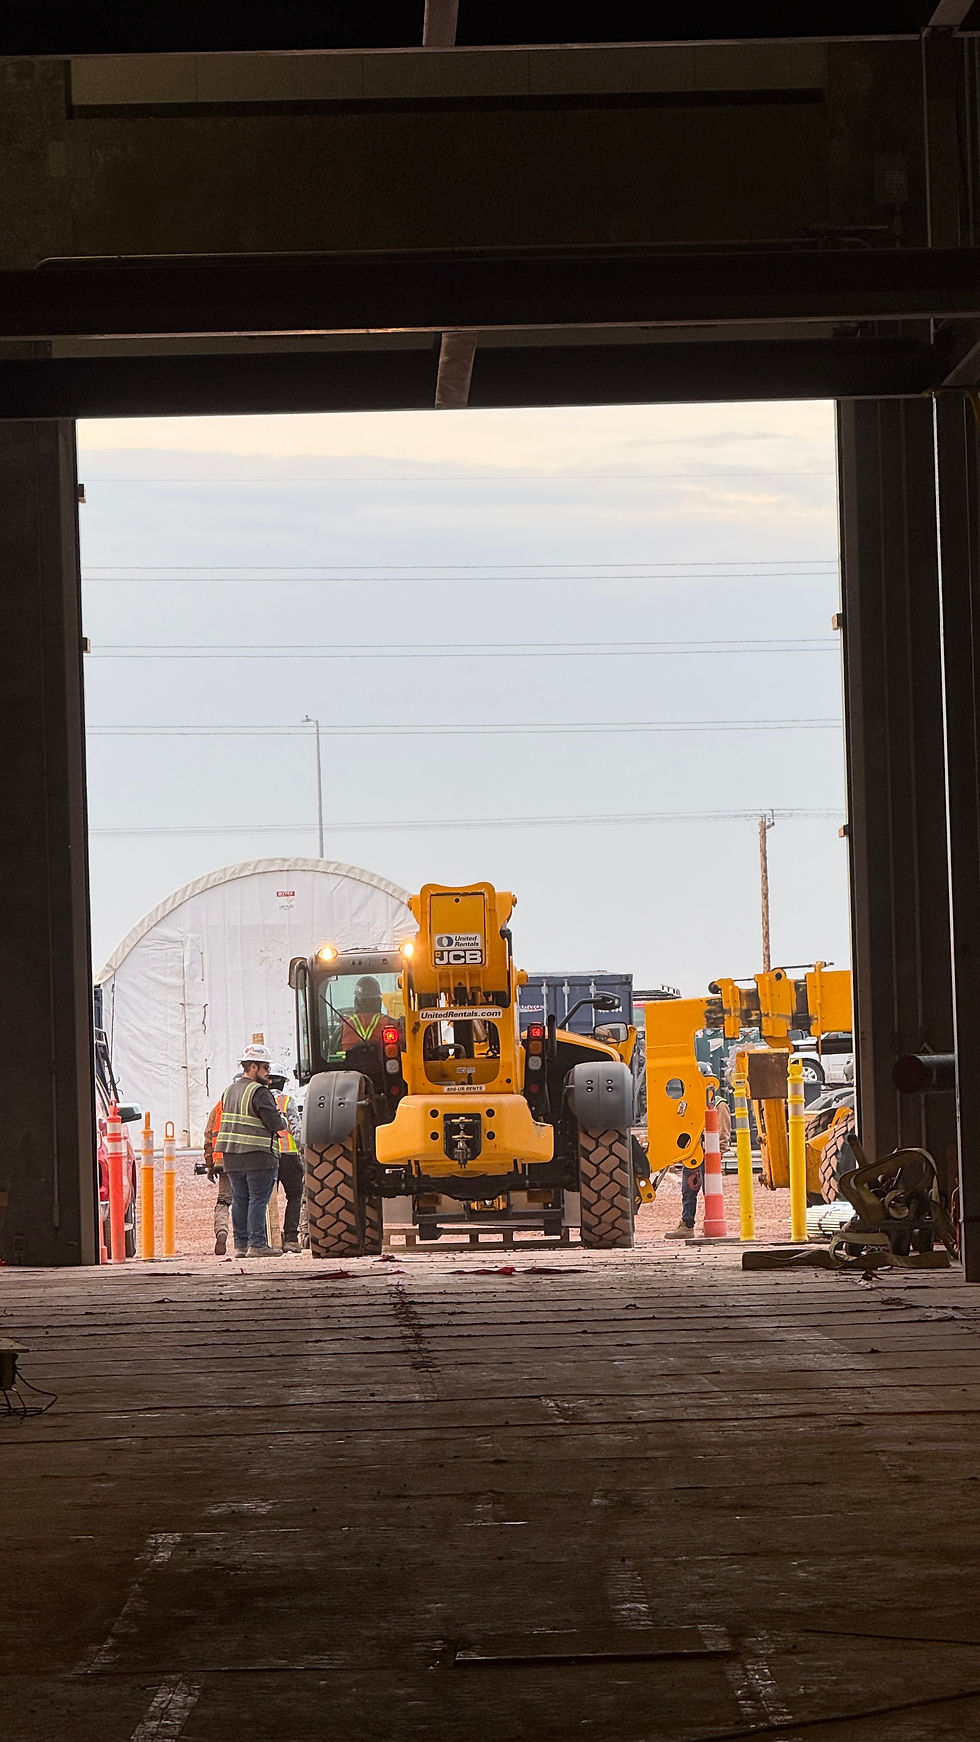
Commercial construction footage is its own discipline. The lighting is unpredictable, the schedule moves around you, the environment will eat your gear if you let it, and the people on camera are working, not performing. A kit built for weddings, real estate, or studio work will get you halfway there and then fail in ways that cost you the shoot.
This is what I actually bring when I show up to a commercial jobsite to shoot. Every body, lens, drone, mic, and case. Two camera bodies, the Tamron Trinity plus the 35-150, two drones for two different jobs, BTS cameras for what the main rig misses, and a travel system that keeps every piece of valuable gear on me as carry-on. Every item earned its way in by solving a problem on a real shoot.
If you're shooting commercial construction content, building a kit toward that work, or trying to figure out where the gaps are in what you carry, this is the working baseline i found that works.

Camera Bodies
Sony FX3 is the A camera for video. Full-frame cinema body in a compact form factor, active cooling for long takes without thermal limits, dual native ISO that handles bright daylight on a roof and dim conditions inside a partially-enclosed structure, and the same E-mount as the A7 IV so all the glass is interchangeable.
Sony A7 IV is the B camera and the stills body. The 33MP sensor pulls double duty for high-resolution progress photos and second-angle video coverage, and it gives you backup if anything happens to the FX3 mid-shoot. It's also the better choice when you need a single body that does photo and video equally well.
Two bodies sounds like overkill until you've had a card error on a one-shot interview, dropped a body off a man-lift, or needed to capture a pour and a foreman walk-up at the same time. On a working shoot, redundancy is the difference between delivering and explaining.
Lenses
I run the Tamron Trinity for Sony E-mount plus the 35-150mm f/2-2.8. Four lenses total, covering everything from a tight crawlspace to a wide jobsite overview to a compressed shot of a worker isolated against a building.
Tamron 17-28mm f/2.8 Di III RXD: the wide. Site overviews, equipment shots in tight spaces, interior progress footage where you can't back up far enough with anything longer.
Tamron 28-75mm f/2.8 Di III VXD G2: the standard zoom. This is the lens that lives on the body 60% of the time. Environmental coverage, walk-and-talks, B-roll, interview backgrounds, most general site documentation.
Tamron 70-180mm f/2.8 Di III VXD: the telephoto. The reason this matters on a jobsite isn't reach for its own sake, it's standoff distance. You can isolate workers, machinery, or detail shots from a safe location without getting in the way of active operations or putting yourself in a hazard zone.
Tamron 35-150mm f/2-2.8 Di III VXD: the do-everything lens. The f/2 aperture at 35mm gives you cinematic depth of field for marketing and brand work, and the 35-150mm range covers most of what you'd cover with the 28-75 plus the 70-180. On a one-lens day where I need to move fast and don't want to switch glass on a dusty site, this is what's mounted.
Why Tamron over Sony G Master glass: weight, cost, and optical performance that's more than good enough for client deliverables. The whole Trinity weighs less than two G Master zooms and costs roughly a third as much. On a working jobsite where the lens is going to take some abuse, that math is hard to argue with.
Drones
Two drones for two different jobs. Sometimes i just bring one but if I'm flying to a shoot i like the redundancy.
DJI Mavic 4 Pro is the cinematic drone. Hasselblad main camera, dual telephoto lenses, and obstacle avoidance that's mature enough to fly safely around rebar, cranes, and structures. Anything going to a client deliverable, a marketing reel, or a project progression video gets shot on the Mavic 4 Pro.
DJI Mini 3 is the under-250-gram option. Some sites and some airspaces are easier with a sub-250g drone. There are situations where you need a quick aerial reference shot or a documentation pass without the full ceremony of a Mavic 4 Pro setup. The Mini 3 is also what I reach for when conditions are marginal and I'm not willing to risk the bigger drone.
If you're operating commercially, you need a Part 107 certificate. Flying a drone for any business purpose, including filming a jobsite for marketing, is commercial operation under FAA rules. The test is reasonable, the cert is good for two years, and it doesn't matter how small the drone is.
For active construction sites, also confirm:
The site has no active TFRs or restricted airspace overhead
You have written permission from the GC and any client representatives
Your insurance covers drone operations specifically
You're flying at a time when ground crews are clear of overhead operations
BTS Cameras
The main rig captures the planned shots. Everything else, the moments between takes, the candid stuff, the wide environmental context that makes a piece feel like a real day on a real site, is what BTS cameras are for. Two pieces handle this.
Insta360 X5 is the 360 cam. Captures everything in every direction, then you reframe in post to pull the shots you actually want. For a moving subject through a dynamic environment, this is unmatched. Mount it on a hard hat, on a piece of equipment, on a tripod in the middle of activity, and you walk away with footage you couldn't have planned for. The 8K resolution means you can crop in tight after the fact and still have a clean usable shot.
DJI Osmo Nano is the magnetic-mount POV cam. Tiny, sticks to almost anything, lets you grab perspective shots no other camera in the kit can get. First-person POV from a worker's chest, mounted on a piece of equipment for a process shot, or stuck to a hard hat for ride-along context. It's a B-roll multiplier.
BTS cameras are also worth their weight for one thing the main rig can't do well: capturing yourself working. If you're a one-person operation, you can't be behind the FX3 and in front of it at the same time. A 360 cam on a tripod or a magnetic POV cam clipped to your shirt fills the gap.
Audio
Audio is where most jobsite video falls apart. Wind, generators, impact tools, and traffic destroy clean dialogue on the camera mic alone.
The DJI Mic 2 is the wireless lav system that lives in the kit. Two transmitters, a receiver that mounts on the camera hot shoe or runs into the FX3's XLR top handle, internal recording on the transmitters as a backup, and noise cancellation that holds up better than it has any right to. For interviews, walk-and-talks, and any on-camera talent, this is the system.
When it's truly windy, you record clean audio on the lav and ignore the camera mic entirely. Plan for it. The transmitter's onboard recording also gives you a safety net if the wireless link gets dirty in an electrically noisy environment, which is more common on jobsites than people realize.
Tripod
A solid tripod with a fluid head is non-negotiable for time-lapse work, interview setups, and locked-off progress shots. It's also what you mount the 360 cam to when you want a stationary witness camera capturing everything happening in a defined area.
For run-and-gun work, the in-body stabilization on the FX3 and A7 IV combined with the Tamron lenses' VC is enough if you shoot in a slow, deliberate way. A gimbal is nice for cinematic movement, but a tripod is the foundation.
How I Travel With All of It
This is the part most gear lists skip, but it's the part that actually matters when you're flying to a project site or working out of a truck for weeks. Two pieces of luggage, both carry-on, plus one checked bag of clothes.
Nanuk 935 is the rolling carry-on hard case. Waterproof, impact-rated, sized to meet major-airline carry-on dimensions. This is where the bodies, lenses, drones, and audio gear live in transit. If something happens to the airplane, the bag, or the cargo handlers, the case is what stands between my livelihood and a five-figure replacement bill.
Shimoda backpack is the personal item. Laptop, hard drives, batteries, cables, the BTS cameras, and whatever else needs to ride with me. Built for working photographers, which means the internal organization handles real gear instead of being a backpack with a padded laptop sleeve.
The checked bag is clothes only. If the airline loses my luggage, I can buy clothes at a Walmart and keep working. If the airline lost my camera kit, the shoot is over. Every piece of valuable equipment stays on me, in the cabin, where I can see it.
If you take nothing else from this post, take that. Never check your camera gear. Ever.
Storage and Backup
Buy more storage than you think you need.
For in-camera, run CFexpress Type A cards in the primary slot for 4K work on the FX3, with a high-speed V90 SD card as a backup. ProGrade Digital Cobalt cards are the standard for working bodies. The A7 IV runs the same combination.
Every shoot day ends with footage copied onto two physical drives plus uploaded to cloud. Samsung T7 Shield SSDs survive being knocked around in a truck better than spinning drives, and they're small enough that one lives in the Shimoda as a redundant on-person backup.
Footage from an active jobsite is often the only record of certain conditions. Losing it can mean losing the ability to document a safety incident, a quality issue, or a change order. Treat it accordingly.
How To Build Toward This Kit
If you're starting from zero, don't try to buy this whole list at once. The order I'd build it in:
Sony A7 IV body and the Tamron 35-150mm. One body, one lens, real client-deliverable image quality. This is the working starting point.
DJI Mic 2 wireless system. The moment you're shooting any kind of interview or talent, this becomes mandatory.
Add a drone. Mavic 4 Pro if you can afford it, Mini 3 if you want to stay sub-250g and keep things simple.
Add the Tamron 17-28mm to handle interior and tight-space coverage.
Add a 360 cam or a POV cam for BTS once you're shooting consistently enough to want it.
Add the FX3 when you're shooting enough video work that the dedicated cinema body justifies itself.
Almost every piece on this list earned its way in by being the answer to a problem I hit on a real shoot. Build it the same way.
If you're shooting commercial construction content and want to talk through what your kit is missing, or if you need someone with both safety and production experience on your next shoot, reach out.


Comments